Course Progress
50%
Course Progress
Organize Your Files: Creating and Naming Folders
Welcome to Day 8! Now that you've explored your computer's file explorer, it's time to take your organizational skills to the next level. Today, we'll focus on how to create and name folders in a way that makes your files easy to find and manage.
Right-click anywhere in your file explorer or on your desktop.
Select New, then choose Folder.
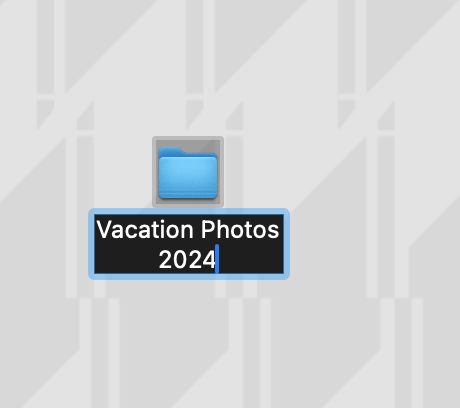
A new folder will appear, ready for you to name it.
Type a relevant name and press Enter to save it.
Folders can hold all types of files—documents, photos, videos—and even other folders. Creating folders helps you group related items together, reducing clutter and making it easier to find what you need.
Be descriptive: The more specific the name, the easier it will be to find the folder later. Instead of naming a folder "Stuff," try something like "Vacation Photos 2024" or "Work Invoices".
Use dates when helpful: Adding the year or month to a folder name (e.g., "Meeting Notes Jan 2024") can make it easier to organize and find files later.
Avoid special characters: Stick to letters, numbers, and dashes. Avoid using characters like #, %, or &, as they can cause issues with certain programs.
Properly naming and organizing your folders is crucial for keeping your files neat and easy to navigate. Over time, you'll build up more files and folders, and a well-organized system will save you hours of frustration when you need to find something quickly.
Create a few folders today based on the types of files you have. For example, if you have a lot of family photos, create a Photos folder, then subfolders like Family Photos or Vacation Photos. Practice moving files into these folders to keep things tidy.
Try using nested folders (folders within folders) for more advanced organization. For example, within your Work Documents folder, you could create subfolders for 2023 Projects, 2024 Projects, and so on.